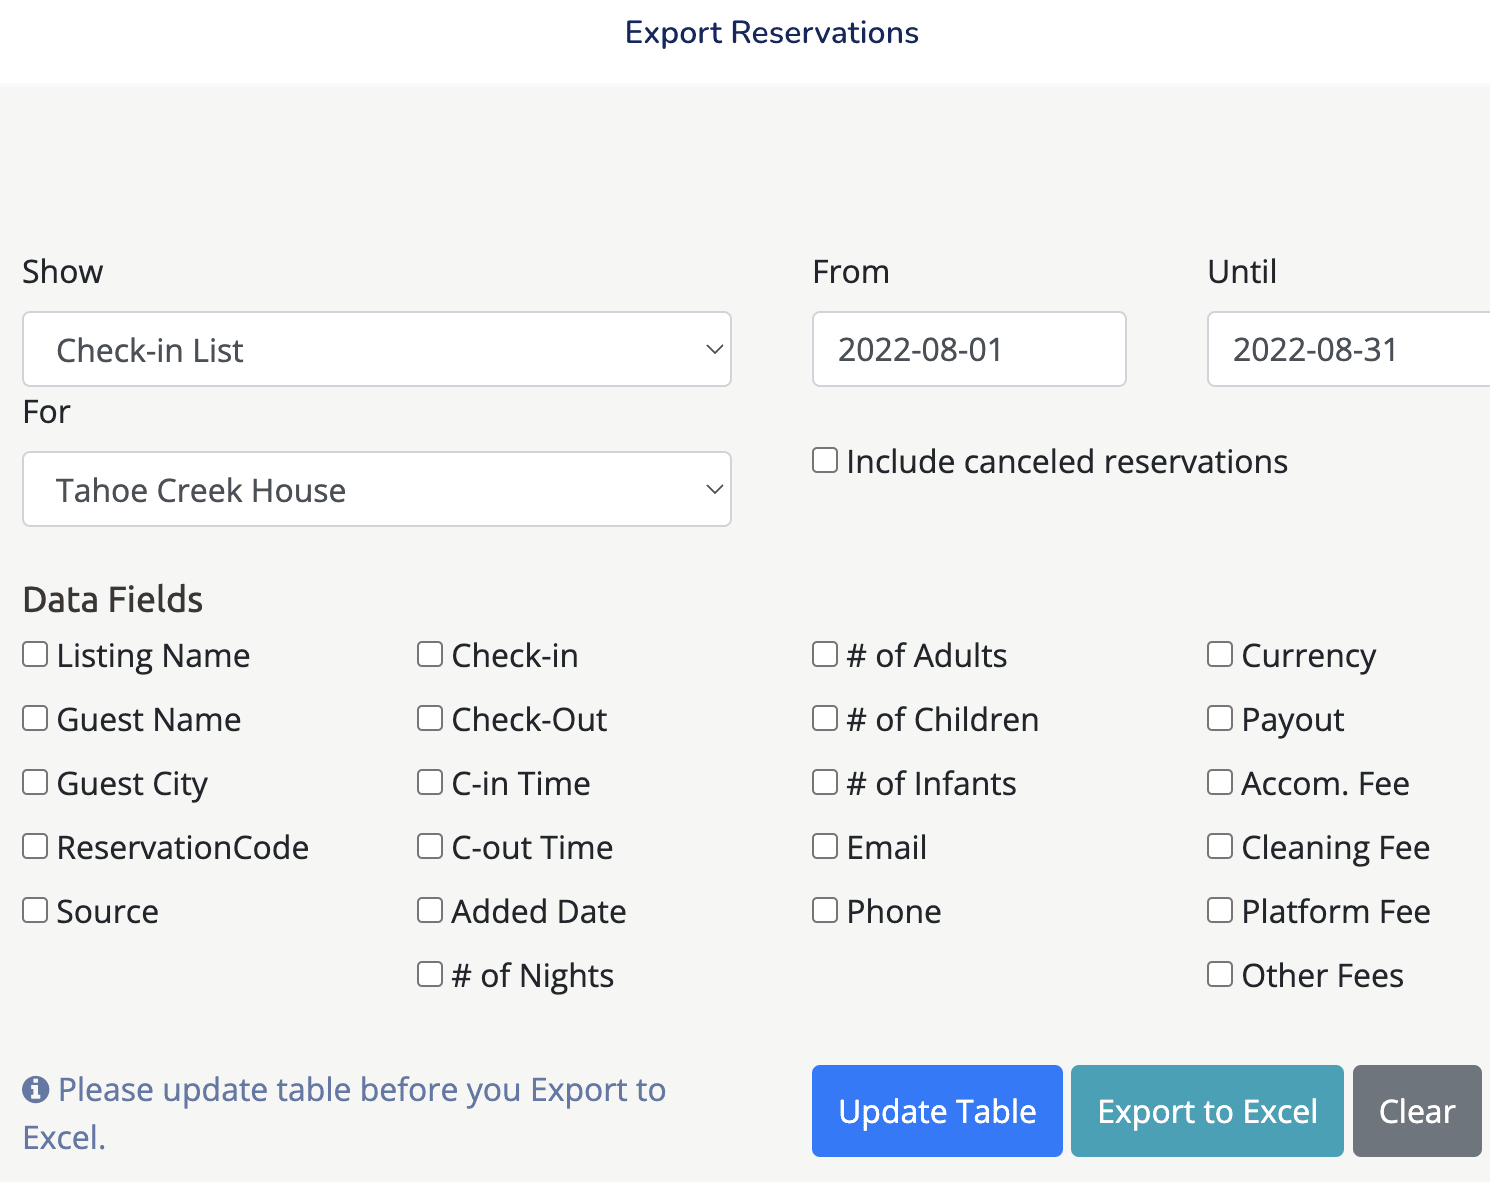
If you would like a copy of your reservation data, or need to import it to other tools for marketing, accounting or invoicing, follow the steps below to export your reservations on a listing basis.
- Sign in to your Guesty For Hosts account.
- In the top menu, click Menu.
- Scroll down to the "Reservations" section.
- Click Export Reservations.
- Under "Show", select one of the following to sort your data:
- Check-in list: Reservations will be sorted according to check-in date, ascending
- Check-out list: Reservations will be sorted according to check-out date, ascending
- Confirmed Reservations: Reservations will be sorted according to confirmation date, ascending
- Select the listing from your active or deleted listings.
- Select the date range.
- Click the tickbox to include cancelled reservations, if needed.
- Select from the data fields (shown below) to include in your table.
- Click Update Table. Your data will be displayed at the bottom of the screen.
- Click Export to Excel.
Tip:
If you would like to reset your data to the previous version, click Clear.

Note:
A deleted listing will appear in your list of listings to select from, with "(Deleted)" after the listing name. To export reservation data for a deleted listing simply follow the same process.
